Car Window Blackout Film can add privacy, reduce harsh sunlight, and help keep parked interiors less exposed. But “blackout” can mean different things. Some films are dark yet still allow light through, while others are designed to block nearly all visibility. That distinction matters when choosing a product for a car, camper, or temporary setup.
This guide to the 7 best options compares practical details, including coverage, material, installation, removal, and how clearly each product describes its intended use. Look for measurements that match your windows, edges that sit flat, and a finish that suits your needs. A loose corner can catch dust. Poor fit shows quickly. Consider visibility and safe use, too, especially around windows needed for driving. Check the product instructions and applicable local requirements before installing any film. These factors can vary by vehicle and location.
No single film is right for every driver. A removable shade may work better for occasional privacy, while a more durable option may suit frequent use. Product claims can also be difficult to compare without consistent testing, so treat bold promises with care. A little caution helps. The picks below are intended to make that comparison easier, not replace careful measurement or sound judgment.
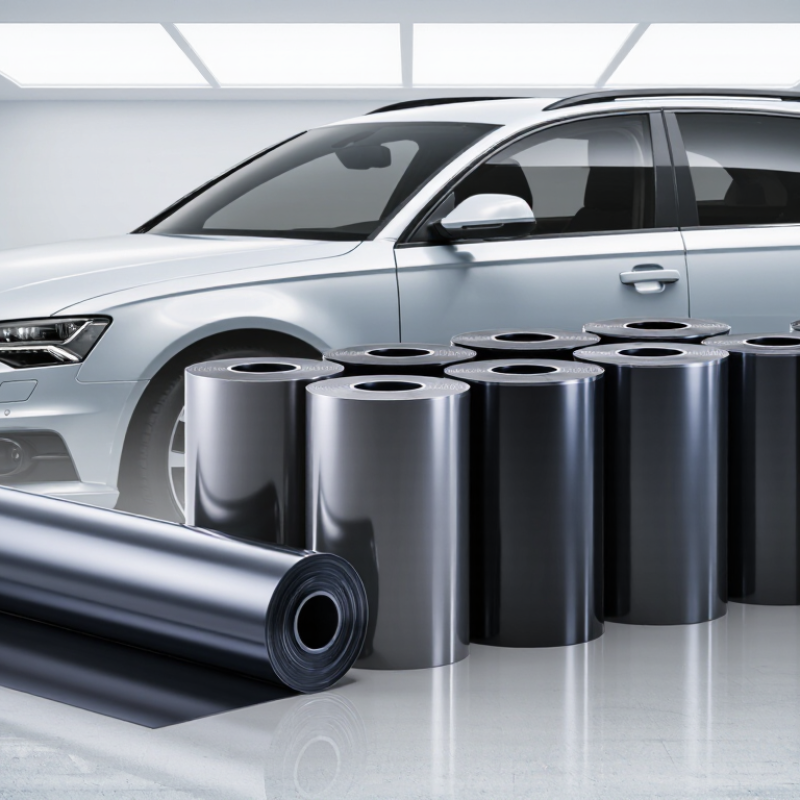
Car window blackout films are designed to obscure the view through glass, but they are not all the same. Some are opaque, while darker privacy films still allow limited visibility. That difference matters: an opaque panel can hide bags on the rear seat, yet also block the driver’s view if placed carelessly. Privacy works both ways. Consider where the film will go, how much light it blocks, and whether it affects mirrors or rearward sightlines. Darkness alone does not guarantee heat or UV protection; check the film’s stated performance instead of judging by appearance.
Lighting changes what people can see. Reflective privacy films may obscure a car’s interior during bright daytime conditions, but nighttime privacy can decrease when interior lights are on. Opaque films offer stronger visual blocking, though they also prevent occupants from seeing through covered glass. It is easy to focus on concealment and underestimate that trade-off. Bubbles, dusty glass, or lifting edges can also make a film look uneven and reduce its effectiveness. Clean installation matters. Before choosing, consider visibility, intended use, and applicable vehicle requirements. A film that feels private in a parked car may be less practical on the road.
Representative tint levels show how much visible light passes through the film. Lower VLT generally means a darker appearance.
Privacy note: Darker films can make it harder to see into a vehicle in bright daylight, but they do not guarantee privacy. At night, interior lights can make the cabin more visible from outside. These are illustrative tint levels, not measurements of specific products; check local window-tint regulations before choosing a film.
Choosing a privacy film starts with the vehicle’s glass, not just its shade. Windshields, side windows, and rear glass differ in curvature, factory tint, and visibility needs. A 2016 JAMA Ophthalmology study found average UVA transmission of 0.08% through windshields and 24.1% through side windows in the tested vehicles. That difference shows why UV protection should be checked separately from darkness. Ask for documented UV rejection and visible light transmission (VLT), measured with the factory glass in mind. Check the glass.
For privacy, compare a sample against the actual window in daylight and at dusk. A darker film may obscure the cabin, but it can also make it harder to see outside at night. Heat rejection and UV rejection are different measurements, so review both rather than relying on a single sales claim. Ask whether the film suits curved panes and rear-window defroster lines, and check its color-stability information. A showroom swatch can mislead; installed results depend on the glass and workmanship. I would not choose by darkness alone.
The best choice depends on when and where you need privacy. Removable static-cling film suits occasional use, such as resting in a parked car. It needs clean glass and careful smoothing to avoid bubbles. Opaque adhesive film offers stronger coverage, but it is harder to remove. Frosted film softens outlines while letting in some light. It is less private at close range. Perforated film can look dark outside during daylight, though people may see through it from a brighter side. At night, that effect can reverse. Not ideal after sunset.
For flexible coverage, consider reusable blackout film, magnetic window panels, or cut-to-fit opaque film. Reusable sheets are easy to store, but edges may lift in heat. Magnetic panels install quickly on compatible metal frames; check the fit before relying on them. Cut-to-fit film gives a neat finish when measured patiently. Small gaps show. I learned that the hard way. Test any option while parked, and check that it does not obstruct your view through windows needed for driving. Clean glass with a lint-free cloth, then inspect the edges in daylight and at night. Privacy needs are personal, and a darker finish is not always the better choice. Local vehicle-window rules vary, so verify requirements before installing permanent film.
Car window blackout films differ in how they block light and preserve a usable view. Opaque films provide the strongest privacy, but they also prevent occupants from seeing through the covered glass. They suit parked vehicles or specific cargo areas better than windows used for driving. Dyed films reduce glare and soften visibility without fully blocking the view. Ceramic films can limit heat and glare while keeping the glass comparatively clear, though they are not blackout coverings. Static-cling options are removable and useful for temporary privacy. Their edges may lift, especially on dusty or curved glass. Not in every cabin.
Reflective films can obscure a view in bright daylight, but the effect depends on lighting. At night, a lit interior may make the cabin easier to see from outside. That detail matters when choosing film for daily use. A very dark panel can make parking, checking blind spots, or backing up harder. Small detail, big difference. Compare samples against the actual window, not just a product photo; glass tint and cabin lighting change the result. Also consider cleaning, fit, and whether the film interferes with window operation. A darker sample can look convincing indoors, then feel impractical on a rainy evening. Privacy is useful, but clear visibility still deserves attention.
Before installation, check the rules where the vehicle is registered and driven. Tint limits, permitted window locations, and visibility requirements vary by jurisdiction and may change. A film suitable for a rear side window may not be allowed on a front window. Check twice. Measure each pane carefully, including curved edges, and confirm the film is intended for automotive glass. Clean the inside surface with a lint-free cloth; even a speck of dust can leave a noticeable bump. Apply the film in a shaded, dust-free area, following its instructions. A spray bottle and plastic squeegee help smooth the film without scratching it. Take your time. Curved glass can be tricky, and rushing may create creases or trapped air.
After fitting, leave the windows closed for the curing period specified by the film’s instructions. Small bubbles happen. Don’t press hard or cut near the glass edge without care. Once cured, clean the film with a soft cloth and a non-abrasive cleaner approved for tinted windows; rough pads can scratch the surface. Check the edges occasionally for lifting, peeling, or moisture trapped beneath the film. If visibility seems reduced, especially at night or in rain, reconsider whether the darkness is practical. A local vehicle inspection office or qualified tint professional can help clarify current requirements before you install or replace film.
„Thanks to the LUVIR technology, the solder resist process could be switched directly from the previously used mask exposure to direct exposure. As an outstanding digital solution on the market, this technology has been able to demonstrate fast process times and superior quality on our certified conventional ink in production. This allowed us to fully digitize the solder mask process at low cost – without process or ink adjustments. An excellent benefit to our production in Rot am See.“
Ralf Göhringer (Head of Production WE Rot am See)
I would definitely recommend the Limata machine and team for a future company purchase
Michael Greenaway
Compunetics Inc.
“The Limata ldi has been amazing!! Best thing we did was buy this machine”
Richard Brady
GM
Circuitlabs
“Since 2019, we have been running the Limata X1000 LDI system (including LUVIR for solder mask imaging) in daily production as an addition to our current process with film. The machine was capable of properly exposing Taiyo PSR-4000 BN (DI) solder mask types on normal to high-copper boards using a new and unique direct imaging process. The machine operating interface is very user friendly which allowed for a quick technical training curve. The pre-registration processing reduced several seconds of production time at every print. Limata support and service staff is incomparable. They supported our team every step of the way at basically any time of the day or night, with literally, an immediate response time, customizing the software interface to best fit our Operations and needs.
We have exposed more than 8,000 prints since end of October, on various solder mask colors and some resist film panels. Limata, has proven to be very capable and innovative. They are a strong contender in the industry.
We have very much enjoyed this project, and working with the team!
Thank you Limata for the continued support and being a part of our growth.”
Bill Sezate
Vice President, GM
Summit Interconnect
As a replacement to our current contact exposure process with film, the LIMATA X2000 system including LUVIR-Technology was capable of properly exposing non-LDI solder mask types using a direct imaging process. The machine offers cutting edge software with a very intuitive operating interface which allowed for quick technician training curve. The dual drawer system combined with pre-registration processing reduced several seconds of production time at every machine cycle. Limata support and service staff is world class. They added software patches to keep production running at shortest possible response times, customized the software interface to best fit our in-house Operations system, and even wrote a step-by-step machine processing manual. As a result of the project, we have exposed more than 16,000 times on various product types and solder mask brands/colors. Limata, in a very short timeframe as a company, has definitely shown they are truly innovative and will be challenging the industry of direct imaging for the top spot.
Kevin Beattie
Process Engineer
TTM Technologies
Forest Grove Division