In the realm of security, a well-placed Surveillance Camera Mount can significantly enhance safety. Mark Reynolds, a seasoned security expert, states, "The right mount ensures not just a clear view but also long-term reliability." This highlights the importance of correct installation techniques.
Mounting a surveillance camera properly often dictates its effectiveness. For instance, using sturdy materials can prevent sagging or misalignment over time. However, many overlook this crucial step. Inadequate installations can lead to blind spots, defeating the purpose of surveillance.
Choosing the right Surveillance Camera Mount involves assessing the environment and potential obstructions. A mount that works well in one scenario may struggle in another. Thus, knowledge from experts like Reynolds becomes vital. Reflections on past mistakes in installations can lead to better outcomes in the future.
When installing surveillance cameras, having the right tools is crucial. A stud finder helps locate beams for secure mounting. A drill with various bit sizes is essential for creating holes in different materials. Using wall anchors can enhance stability, especially in drywall. Don’t forget a level to ensure your camera is aligned properly.
Safety is key. Always wear safety goggles when drilling. A measuring tape will help determine the ideal height and angle for camera placement. A good ladder can provide stability when reaching high areas. Sometimes, secondary help may be beneficial, especially in tricky locations.
After your setup, take a moment to check camera angles. Are the views clear? Sometimes adjustments are necessary for optimal coverage. Reflect on your installation process. Did everything go as planned? Continuous improvement is part of effective security setups.
Choosing the right location for surveillance cameras is crucial for achieving optimal coverage. Start by assessing the area you want to monitor. High-traffic zones, entrances, and windows are prime spots. Avoid placing cameras in areas that could be easily obstructed. Clear lines of sight enhance visibility and reduce blind spots.
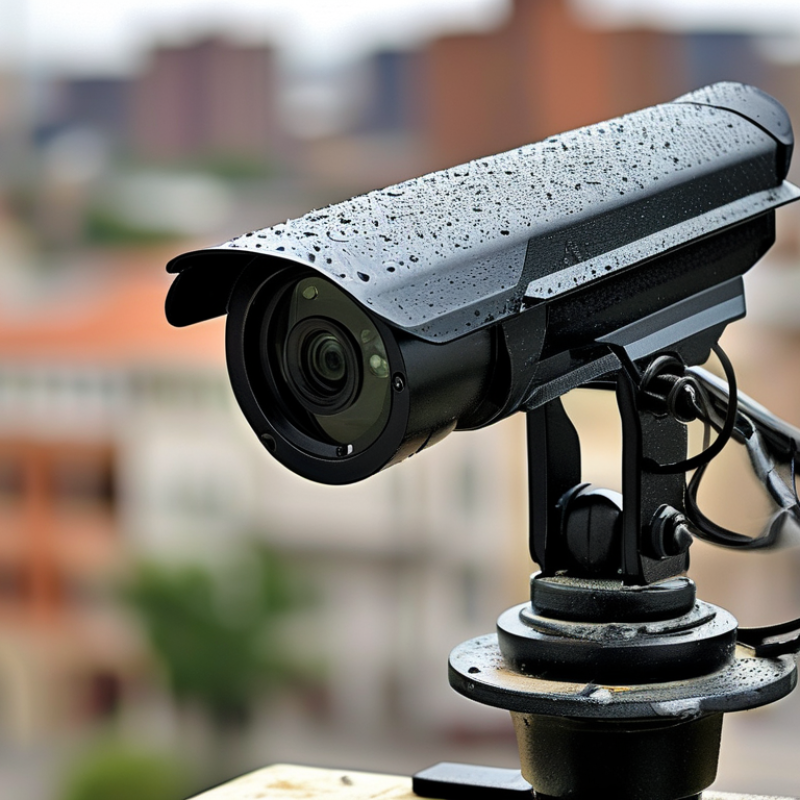
Consider factors like lighting and angles. Direct sunlight can cause glare, affecting image quality. Nighttime visibility is another concern. Select locations near outdoor lighting to improve nighttime surveillance. Additionally, mounting height matters. Cameras mounted too high may miss important facial details, while ground-level camera placement can be vulnerable.
After installation, observe your system's effectiveness. Make adjustments if there are areas where coverage is lacking. Regularly test camera angles and functionality. Engage with the community or fellow users to share insights. Continuous monitoring and adjustments can help maintain security effectiveness, allowing you to respond promptly to any potential threats.
Installing surveillance camera mounts securely is essential for effective monitoring. Start by choosing the right location. Look for elevated spots with minimal obstruction. Ensure there is a power source nearby if your camera requires it. A good angle provides a broader field of vision. However, take note of potential blind spots.
Use high-quality mounting hardware. The wrong screws can lead to accidents. Drill pilot holes carefully to avoid cracking the surface. When securing the mount, ensure it's flush against the wall. Lifting the camera too high can misalign its view. Additionally, consider weatherproofing if installing outdoors. This is often overlooked but crucial for longevity.
After installation, check the camera's angle and clarity. Adjust it to eliminate any obstructions. Don’t skip the testing phase; a misaligned camera defeats its purpose. Document the installation process to reflect on any difficulties encountered. This information can guide future installations.
When installing surveillance cameras, ensuring weather resistance and durability is critical. Poor installation can lead to equipment failure. Here are a few tips to help secure your camera setup.
Choose a robust mounting surface. Avoid drywall or flimsy materials. Solid surfaces like brick or concrete provide better stability. Use screws instead of nails for a more secure attachment. Weatherproof coatings on screws can offer extra protection against rust.
Using a quality enclosure is important. Look for enclosures rated for outdoor use. They should resist water and dust. For added protection, seal any gaps with silicone to prevent moisture ingress. Regularly check the seals for wear and reapply if necessary.
Consider the camera’s placement. Position it away from extreme weather, but ensure clear visibility. A shaded area can reduce wear from sunlight. Using a sun shield can help protect against UV radiation.
Monitor the camera's condition regularly. Look for signs of wear or corrosion. Replace damaged parts promptly to ensure continued operation. The goal is to enhance security and extend the camera's lifespan.
| Mount Type | Material | Weather Resistance | Durability Rating | Installation Tips |
|---|---|---|---|---|
| Wall Mount | Aluminum | Highly Weather Resistant | 4/5 | Use proper anchors and sealant |
| Ceiling Mount | Steel | Moderate Weather Resistance | 5/5 | Secure with bolts; check for moisture |
| Pole Mount | Plastic composite | Good Weather Resistance | 4/5 | Ensure tight fittings and check for UV damage |
| Corner Mount | Stainless Steel | Excellent Weather Resistance | 5/5 | Use anti-corrosive treatment; secure properly |
When installing surveillance cameras, effective cable management is crucial. Exposed wires can present a security risk and make your setup look unprofessional. One method is to route cables through walls or ceilings. This provides a clean appearance and protects cables from damage. If you’re not comfortable with this, consider using a cable raceway. It’s an easy way to conceal wires along walls, reducing clutter.
Using zip ties can also help organize cables neatly. Grouping them together minimizes tangling and enhances the visual appeal of your installation. Labeling each cable can save time during troubleshooting. However, ensure that ties are not too tight, as this can cause damage over time. Remember that the goal is a tidy setup while maintaining functionality and ease of access.
Regularly inspecting your installation is vital. This allows you to catch any issues early, like frayed wires or loose connections. Rethink your mounting locations periodically. Sometimes, you may find better angles or less visible wire paths. Your surveillance system should adapt and change as your needs evolve.
„Thanks to the LUVIR technology, the solder resist process could be switched directly from the previously used mask exposure to direct exposure. As an outstanding digital solution on the market, this technology has been able to demonstrate fast process times and superior quality on our certified conventional ink in production. This allowed us to fully digitize the solder mask process at low cost – without process or ink adjustments. An excellent benefit to our production in Rot am See.“
Ralf Göhringer (Head of Production WE Rot am See)
I would definitely recommend the Limata machine and team for a future company purchase
Michael Greenaway
Compunetics Inc.
“The Limata ldi has been amazing!! Best thing we did was buy this machine”
Richard Brady
GM
Circuitlabs
“Since 2019, we have been running the Limata X1000 LDI system (including LUVIR for solder mask imaging) in daily production as an addition to our current process with film. The machine was capable of properly exposing Taiyo PSR-4000 BN (DI) solder mask types on normal to high-copper boards using a new and unique direct imaging process. The machine operating interface is very user friendly which allowed for a quick technical training curve. The pre-registration processing reduced several seconds of production time at every print. Limata support and service staff is incomparable. They supported our team every step of the way at basically any time of the day or night, with literally, an immediate response time, customizing the software interface to best fit our Operations and needs.
We have exposed more than 8,000 prints since end of October, on various solder mask colors and some resist film panels. Limata, has proven to be very capable and innovative. They are a strong contender in the industry.
We have very much enjoyed this project, and working with the team!
Thank you Limata for the continued support and being a part of our growth.”
Bill Sezate
Vice President, GM
Summit Interconnect
As a replacement to our current contact exposure process with film, the LIMATA X2000 system including LUVIR-Technology was capable of properly exposing non-LDI solder mask types using a direct imaging process. The machine offers cutting edge software with a very intuitive operating interface which allowed for quick technician training curve. The dual drawer system combined with pre-registration processing reduced several seconds of production time at every machine cycle. Limata support and service staff is world class. They added software patches to keep production running at shortest possible response times, customized the software interface to best fit our in-house Operations system, and even wrote a step-by-step machine processing manual. As a result of the project, we have exposed more than 16,000 times on various product types and solder mask brands/colors. Limata, in a very short timeframe as a company, has definitely shown they are truly innovative and will be challenging the industry of direct imaging for the top spot.
Kevin Beattie
Process Engineer
TTM Technologies
Forest Grove Division